Introduction
CONTENT EDITING SUITE
What's New?
All-New Editor Window, Toolbar, and Navigation. Tons of great new features!
Go to: NEW NAVIGATION PANE | NEW TOOLBAR | NEW QUICK INSERT TOOL
| Edit Content On Mobile Devices | The content editor is now a ’responsive’ design compatible with mobile devices and browsers (such as IOS, Android and Windows Mobile operating systems on iPhones, iPads, Smartphones and Tablets). You can do just about anything via a mobile device including adding images and video, but there are some limitations. Mobile operating systems still lack some functionality compared to computers. |
| Insert Images | Drag-&-Drop or Copy-&-Paste directly into the content page! |
| Positioning Images: |
No more tables! Simply drag or copy your image to the page, click on the image to open the Image Properties toolbar, and set the alignment via the Image Alignment button. Move the image up or down on the page on either the left side or right and the text will wrap around the image. Note that web browsers currently cannot handle text wrapping on BOTH sides of an image. If you need that, you will have to use a 3 column table - and even that is easier now in the new editor. Read more info on Images under the ‘Add Image’ section of the Toolbar Buttons Directory. |
| Adding PowerPoint Gets Easier |
Copy-paste PowerPoint (“PPT”) slides content directly into your content page! In PPT, you can click on the slide's thumbnail in the left pane (if showing) or on the slide itself, 'select all' (Control+a in Windows, Command+a in Mac), 'copy' it, then place your cursor in the content editor window and 'paste'. IMPORTANT: When doing this, it creates a single IMAGE of everything on the PPT page except its background and video. So the PPT appears nicely in your online module page, but it is NOT editable. You can, however, add text and other content to the page around that image. |
| Saving Content |
Content saving is faster and the page no longer blinks. Clicking on a page in the Nav Pane will also save the content of the page being edited. Remember: When you put content on a page, it exists only on your screen until you ‘save’ the page. |
| Page Settings | There is no longer a ‘Page Settings’ button because these features are now buttons in the toolbar! |
IMPORTANT: Online editing is different from desktop publishing or word processing software. All web-based content editors are software apps that run inside your browser. They are limited to the capabilities of your browser, HTML software code, and JavaScript. As a result, many functions will work differently and there are fewer features. You may encounter some 'quirky' things that you have to adapt to.
Also, the viewer may look at your content through a different software product on a different device, so the page layout may vary. We use responsive code to ensure the content adjusts for the viewer, but it may require moving things around on the page quite a bit.
A few suggestions:
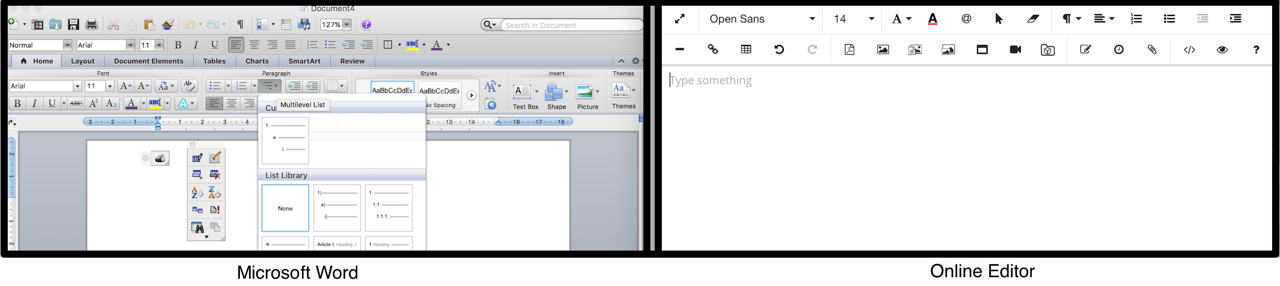
- Use a word processor (i.e.: MS Word) to author and edit your text first, then copy and paste the text into the online editor. In the long run, this will save you a lot of time and trouble since working with text in a word processor is much faster and easier than doing it in a web browser via a live internet connection.
- Keep the design and layout of your pages as simple as you can while still making them look nice. The more complex the layout of your page is, the more quirky it can be to work with in an online browser, and the more chance of it looking different to the viewer.
- Make each page an enjoyable experience for the reader by keeping it relatively short (1 - 4 paragraphs per page recommended) and having at least one visual (image/video) on every page whenever possible.
- Before getting into building a big course, play around with the online editing for a while. Try out as many of the different toolbar buttons and features as feasible so you become familiar with the features available to you and the particular ways they work.