Uploading CSV Questions to the Question Bank
Requirements:
- Spreadsheet application such as Microsoft Excel, Google sheets or other spreadsheet app.
- Basic understanding in how to manipulate Microsoft Excel or other spreadsheet files using the previously mentioned apps.
Please Note: For backup and/or Learning Center question bank transfer, see Import/Export questions from Question Bank topic.
Setting up the file:
-
First action should be to download the template file, this will download a file called: “questionBank_template.csv”,

-
Look for this file in your “Downloads” Folder.

- Open the file using Microsoft Excel, you can also use Google docs, LibreOffice or any other spreadsheet application.
-
Once you open the file, you should notice 2 rows.

The first row indicates the row name, for example: question. The second row is an example questions, this should give you an idea how the question data is structured. Important: delete this row before uploading
See image below for mapping example from the file to the interface.

Please note: Adding or removing additional answer columns is not supported, you can have maximum and minimum of 8 answers.
- CorrectAnswer is a number that corresponds to the position of the answer column in the document. For example: “correctAnswer” value is 3, thus “answer3” is going to be set as correct answer.
- Categories and Keywords are comma separated values, for example: “Maintenance,marshall”.
- Once you filled your document, save it (downloads folder is default, but you can save it anywhere you like on your computer.) and follow the uploading instructions.


Uploading the file:
- Once your file is ready, upload your file by dragging it on the “Choose File” section or click “choose file” to find it on your computer.
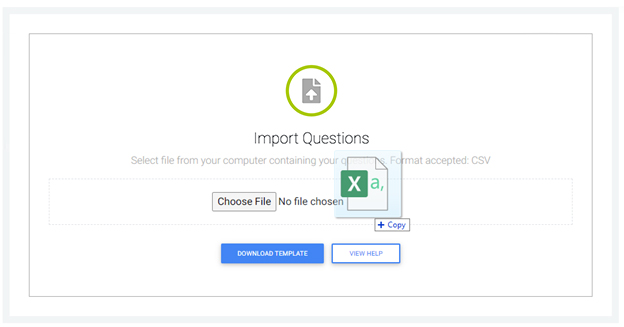
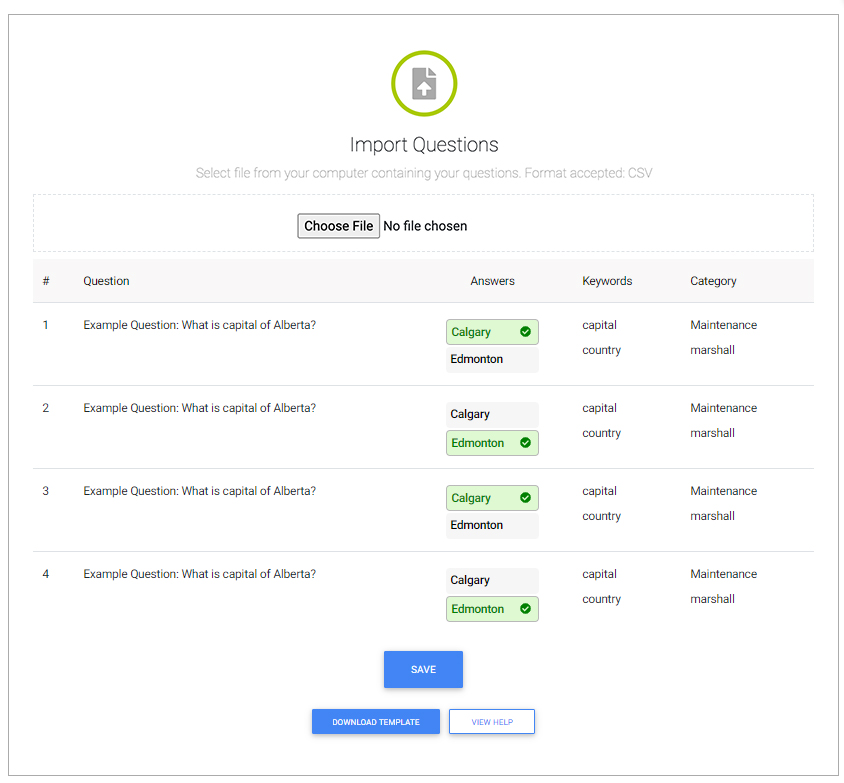
- Once uploaded, you will see a preview of the file. This will show you what is being submitted to the question bank.
- If you have errors, you will not be able to submit your questions. Scroll to the top and read the summary of errors for your file.
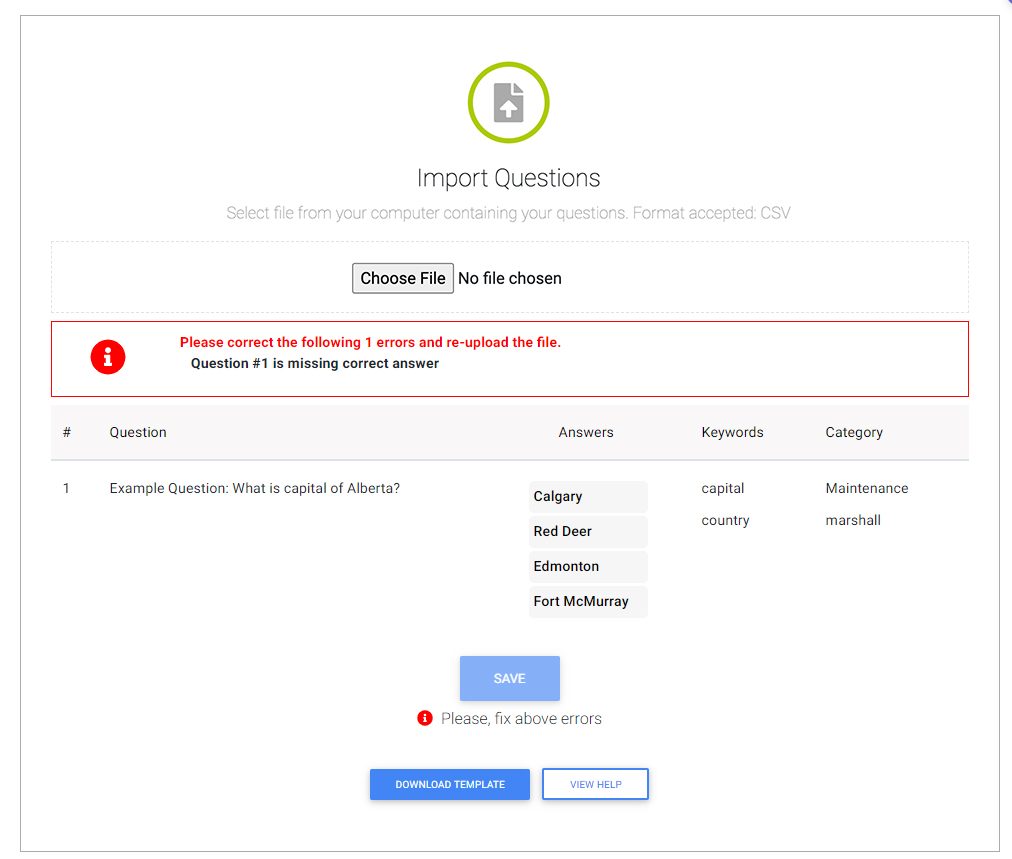
- To fix the errors, you need to return to your file and fix what is necessary.
- Once you fixed the errors, you need to re-upload the file.
- If there is no errors, your “Save” button in enabled and no errors are listed. Click “Save” to process your file.
- Once the file uploaded and processed successfully, you should see the questions in your question bank under “Manage Questions”.